I’ve been exploring AI agent frameworks for a while and OpenClaw caught my attention as a platform that lets you run autonomous agents locally — with a real TUI, a browser extension, a gateway daemon, and support for both cloud and local LLMs via Ollama. This post captures my first hands-on experience: installation, configuration, dashboard access, and the Ollama integration. Think of it as a living lab notebook.
Video walkthrough: https://www.youtube.com/watch?v=I2y-lZwnDFQ
What is OpenClaw?
OpenClaw is an AI agent runtime you install on a Linux machine (or VM). Once running, it exposes a web dashboard and a terminal UI for managing agent sessions, installing skills from the ClaWHub marketplace, and connecting to LLM backends — either cloud models or local ones via Ollama.
The architecture is straightforward:
- CLI (
openclaw) — the main entry point for setup, config, and launching sessions - Gateway — a background daemon (systemd user service) that handles WebSocket communication between the CLI, web UI, and agents
- ClaWHub (
npx clawhub) — the skills/plugin marketplace, similar to npm for agent capabilities - Web UI — a browser-based dashboard, accessed locally (or via SSH tunnel from a remote machine)
- Browser Extension — lets OpenClaw interact with browser sessions as part of agent tasks
Installation
OpenClaw is distributed via Node/npx. The installation flow uses ClaWHub to find and install the CLI, then a few system dependencies for browser automation.
npx clawhub search cli
npx clawhub install openclaw-cli
sudo apt install python3-pip
sudo dpkg -i google-chrome-stable_current_amd64.deb
pip install flask
The Chrome install is needed for browser-based agent tasks — OpenClaw can drive a real browser as part of its skill execution. Flask is a dependency for certain skills.
Initial Configuration
After install, run the interactive setup wizard. This writes the base config to ~/.openclaw/openclaw.json.
openclaw configure
To specifically configure the gateway (the background WebSocket service):
openclaw configure --gateway
openclaw configure --section gateway
Once configured, onboard and install the gateway as a systemd daemon so it starts automatically:
openclaw onboard --install-daemon
This is what the onboarding output looks like — it gives you the SSH tunnel command and dashboard URL with an auth token:
openclaw configure

openclaw onboard --install-daemon

│  ssh -N -L 18789:127.0.0.1:18789 vik@192.168.6.141                               │
│  Then open:                                                                      │
│  http://localhost:18789/                                                         │
│  http://localhost:18789/#token=0e9f0e7a4b43673bed59725946f6d78e636d1f5b60ab6792

◇  Token ─────────────────────────────────────────────────────────────────────────────────╮
│                                                                                         │
│  Gateway token: shared auth for the Gateway + Control UI.                               │
│  Stored in: ~/.openclaw/openclaw.json (gateway.auth.token) or OPENCLAW_GATEWAY_TOKEN.   │
│  View token: openclaw config get gateway.auth.token                                     │
│  Generate token: openclaw doctor --generate-gateway-token                               │
│  Web UI stores a copy in this browser's localStorage (openclaw.control.settings.v1).    │
│  Open the dashboard anytime: openclaw dashboard --no-open                               │
│  If prompted: paste the token into Control UI settings (or use the tokenized dashboard  │
│  URL).

◇  Dashboard ready ────────────────────────────────────────────────────────────────╮
│                                                                                  │
│  No GUI detected. Open from your computer:                                       │
│  ssh -N -L 18789:127.0.0.1:18789 vik@192.168.6.141                               │
│  http://localhost:18789/#token=<YOUR_TOKEN>                                      │


│  Web UI: http://127.0.0.1:18789/                                                 │
│  Web UI (with token):                                                            │
│  http://127.0.0.1:18789/#token=<YOUR_TOKEN>                                      │
│  Gateway WS: ws://127.0.0.1:18789                                                │
│  Gateway: reachable                                                              │
The token in the URL above authenticates your browser session to the gateway. Store it — you’ll need it every time you open the dashboard from a new browser.


Managing the Gateway
The gateway is the heart of OpenClaw — it’s a local WebSocket server that agents, the TUI, and the web UI all connect to. It runs as a systemd user service.
# Install and restart
openclaw gateway install --force
openclaw gateway restart
openclaw gateway stop

# Debug connectivity issues
openclaw gateway --verbose
openclaw gateway --ws-log full
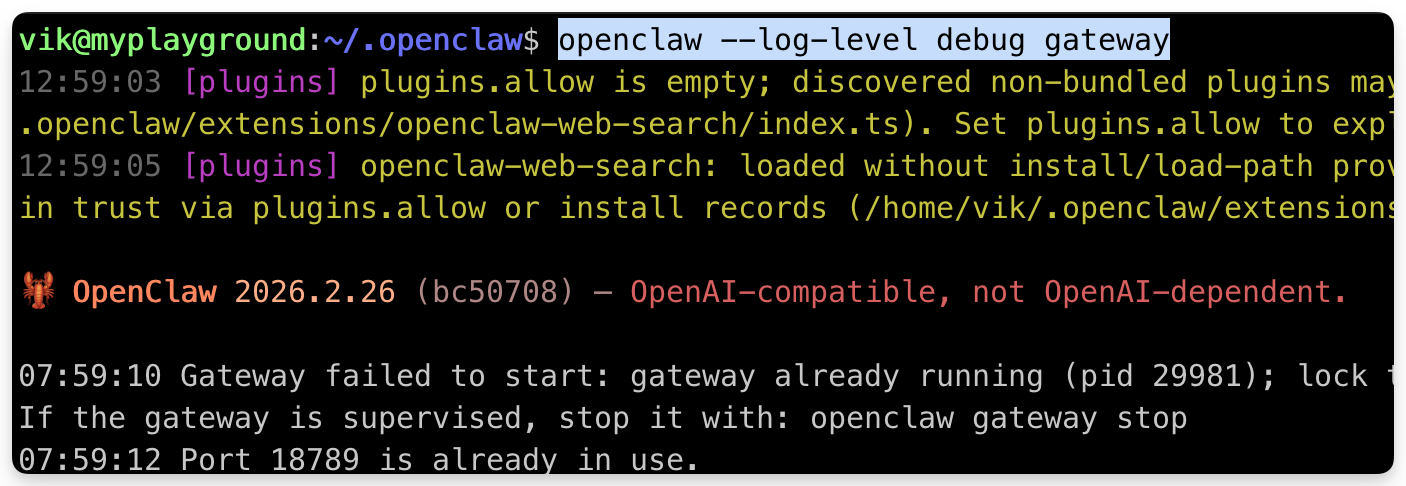
openclaw --log-level debug gateway

# Manage via systemctl
systemctl --user start openclaw-gateway.service
systemctl --user stop openclaw-gateway.service
If the gateway isn’t reachable, --verbose is the first thing to run. Most issues are auth token mismatches or port conflicts on 18789.
Accessing the Dashboard from a Remote Machine
Since the gateway binds to 127.0.0.1:18789, if you’re running OpenClaw on a remote Linux machine (like a homelab VM), you need an SSH tunnel to access the web UI from your laptop:
ssh -N -L 18789:127.0.0.1:18789 vik@192.168.6.141
Then open http://localhost:18789/#token=<YOUR_TOKEN> in your browser. The #token= fragment in the URL is the auth mechanism — it gets stored in localStorage so you don’t have to paste it every time on the same browser.
Terminal UI (TUI)
OpenClaw ships with a full terminal interface for managing agent sessions without a browser. Useful for headless setups or quick checks.
openclaw sessions
openclaw sessions logs
openclaw tui
openclaw tui --token <TOKEN>
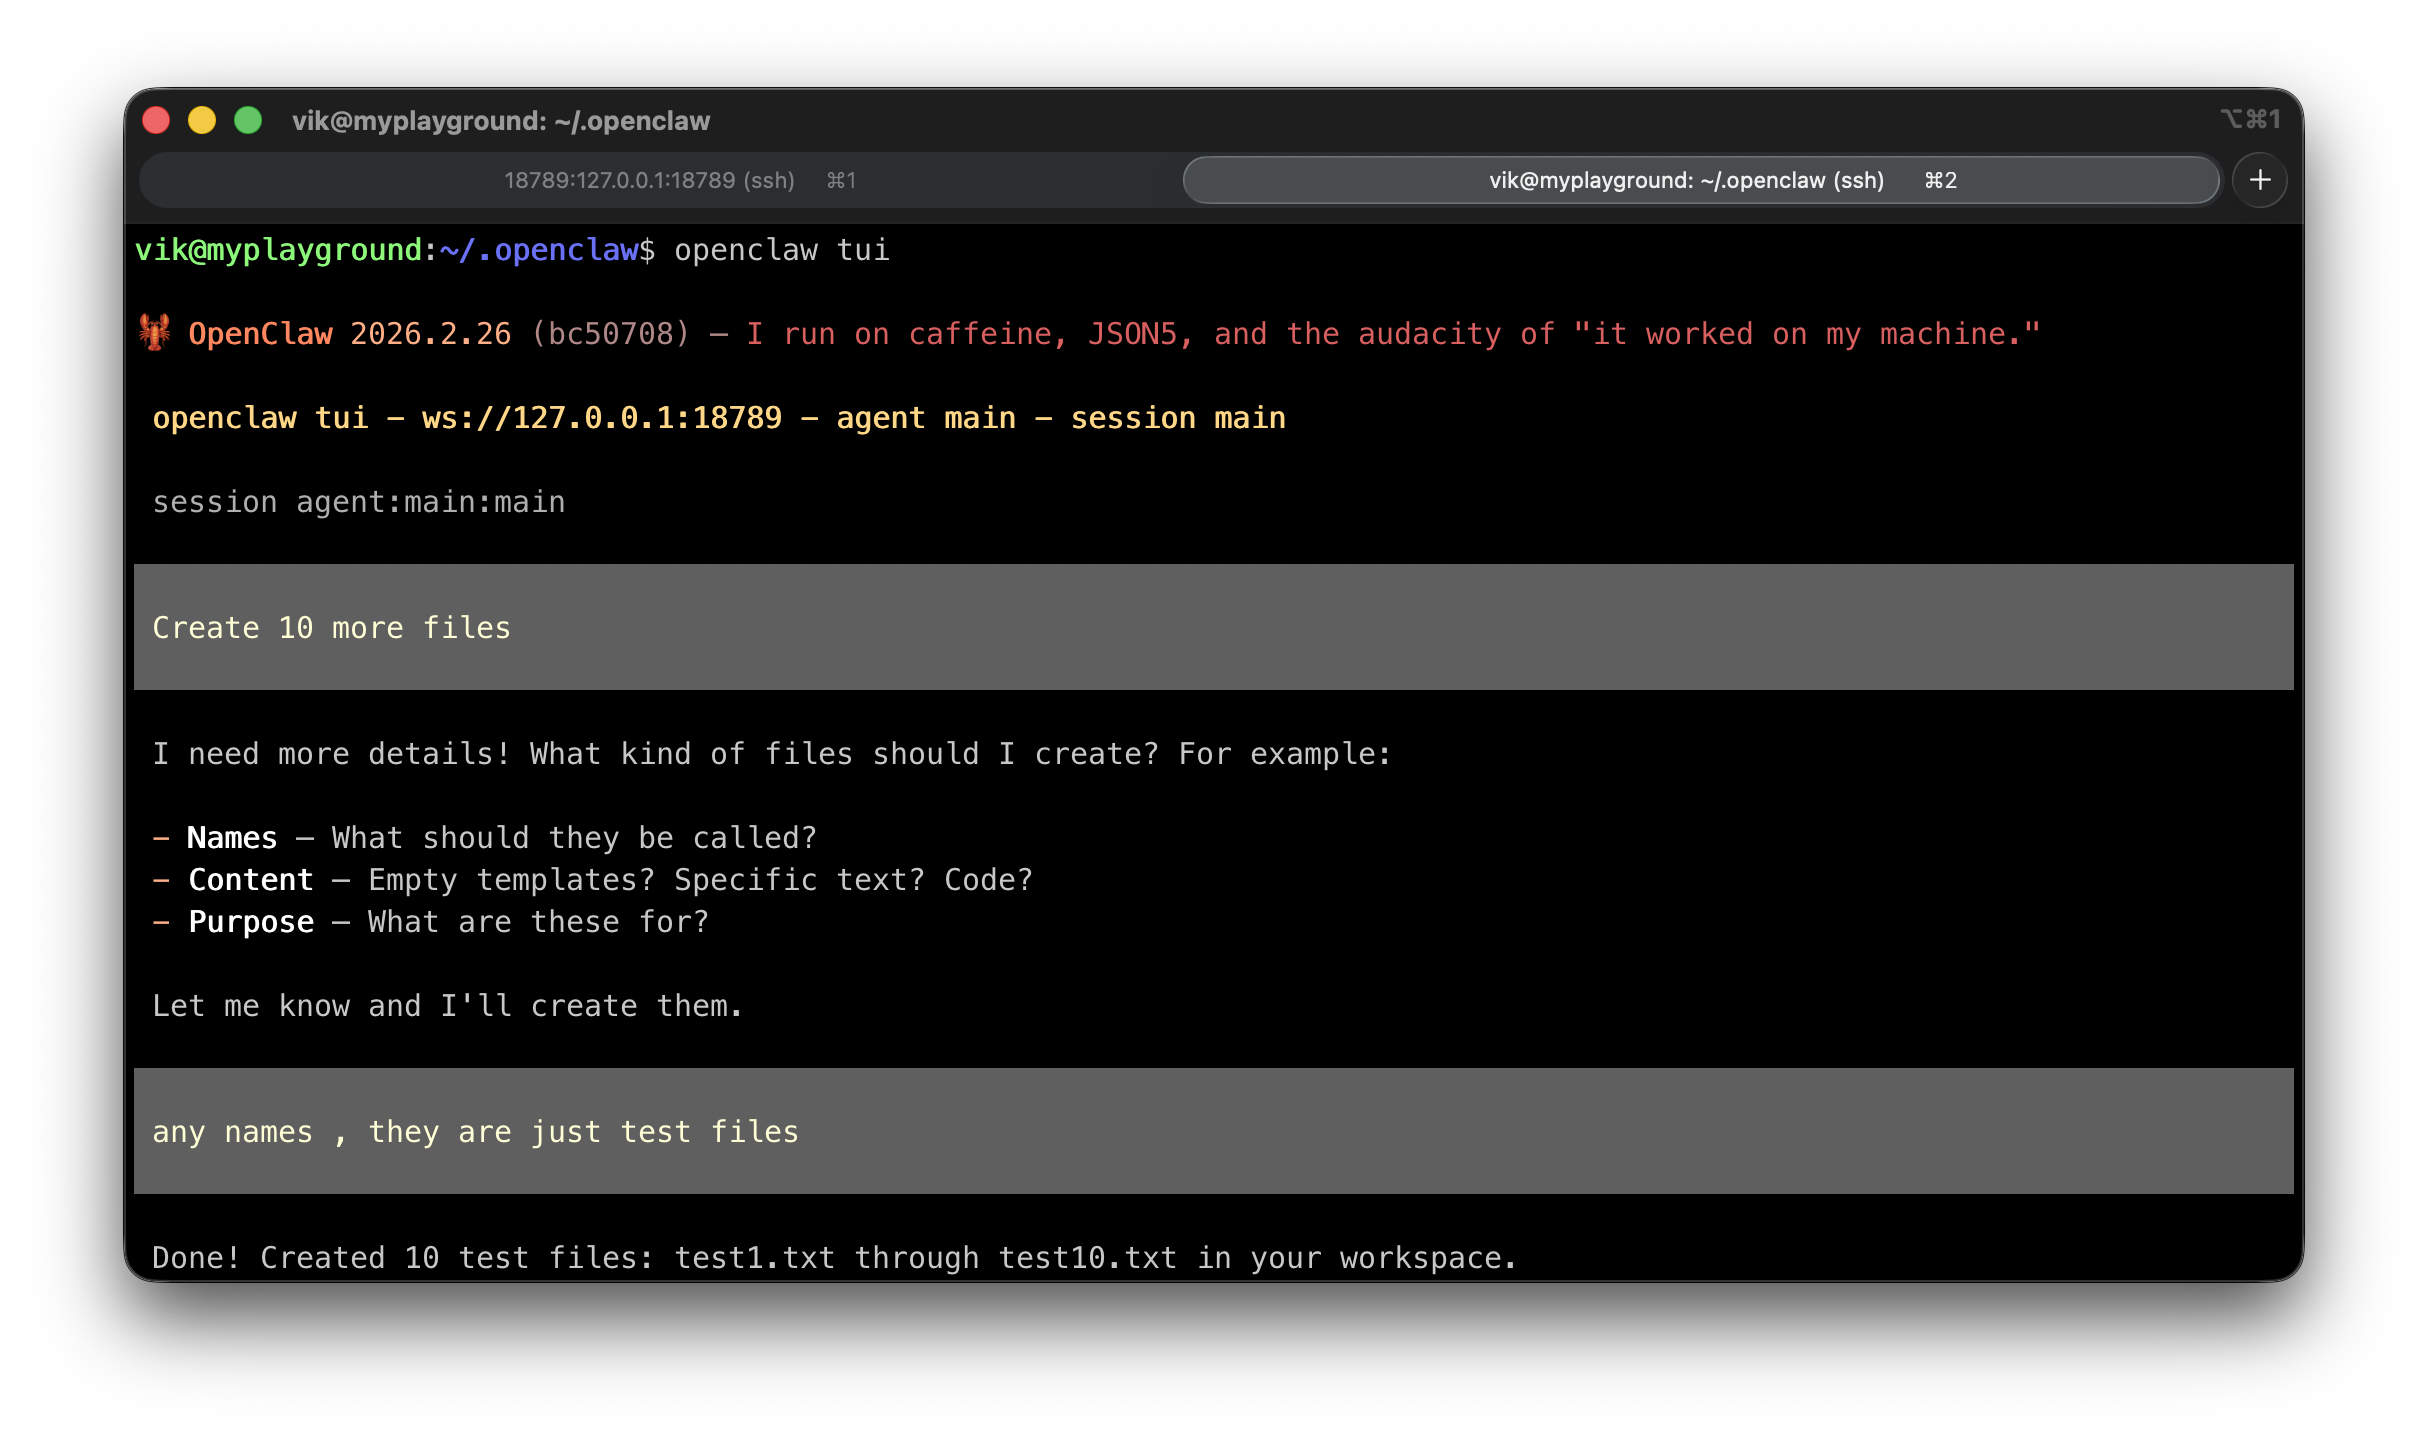
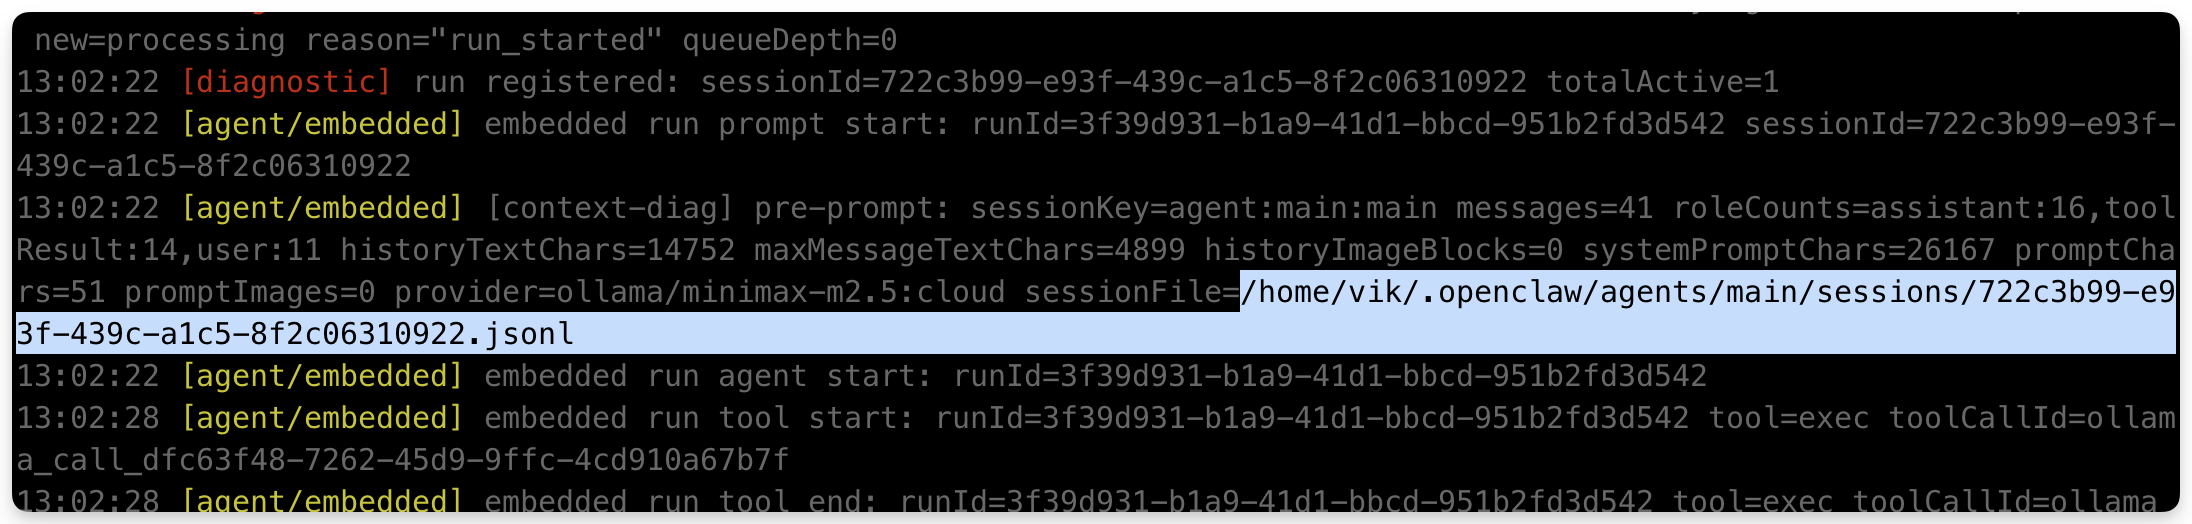
Here’s what the TUI looks like in action:

Ollama Integration
One of the more interesting parts of OpenClaw is plugging in local LLMs via Ollama. Instead of relying on cloud APIs, you can run models locally and point OpenClaw at them.
How Ollama works with OpenClaw
Ollama runs as a local API server (default: 127.0.0.1:11434). OpenClaw launches agents using the model specified in the command. The kimi-k2.5:cloud and minimax-m2.5:cloud suffixes indicate cloud-hosted variants accessed via Ollama’s proxy layer.
ollama launch openclaw --model kimi-k2.5:cloud
ollama launch openclaw --model minimax-m2.5:cloud
sudo pkill ollama
Making Ollama accessible to OpenClaw
By default, Ollama only listens on 127.0.0.1. If OpenClaw is running on a different subnet or you’re accessing from another machine, you need to set OLLAMA_HOST=0.0.0.0 and allow all origins. Edit the systemd service:
sudo systemctl edit ollama.service
Add the following environment variables:
[Service]
Environment="OLLAMA_HOST=0.0.0.0"
Environment="OLLAMA_ORIGINS=*"
Then restart:
sudo service ollama restart
Browser Extension
For agent tasks that involve web browsing, OpenClaw uses a Chrome extension. It can be installed directly via the CLI or loaded manually into Chrome as an unpacked extension.
openclaw browser extension install
openclaw browser extension path
cp -r ~/.openclaw/browser/chrome-extension .
The extension path command prints the directory so you can load it in Chrome via chrome://extensions → “Load unpacked”.
Skills
Skills are the agent capabilities you install from ClaWHub — think of them like plugins that teach the agent how to do specific tasks (web search, code execution, API calls, etc.).
openclaw skills list --eligible
npx clawhub
--eligible filters to skills compatible with your current setup and installed models.
Config & Debug
Viewing and editing the config
All config lives in ~/.openclaw/openclaw.json. To find the gateway token:
cat .openclaw/openclaw.json | grep token
sudo nano /home/vik/.openclaw/openclaw.json
If you need to regenerate the token:
openclaw doctor --generate-gateway-token
Log files
Two log locations are useful for debugging:
# Gateway and general logs
tail -f /tmp/openclaw/openclaw-<date>.log

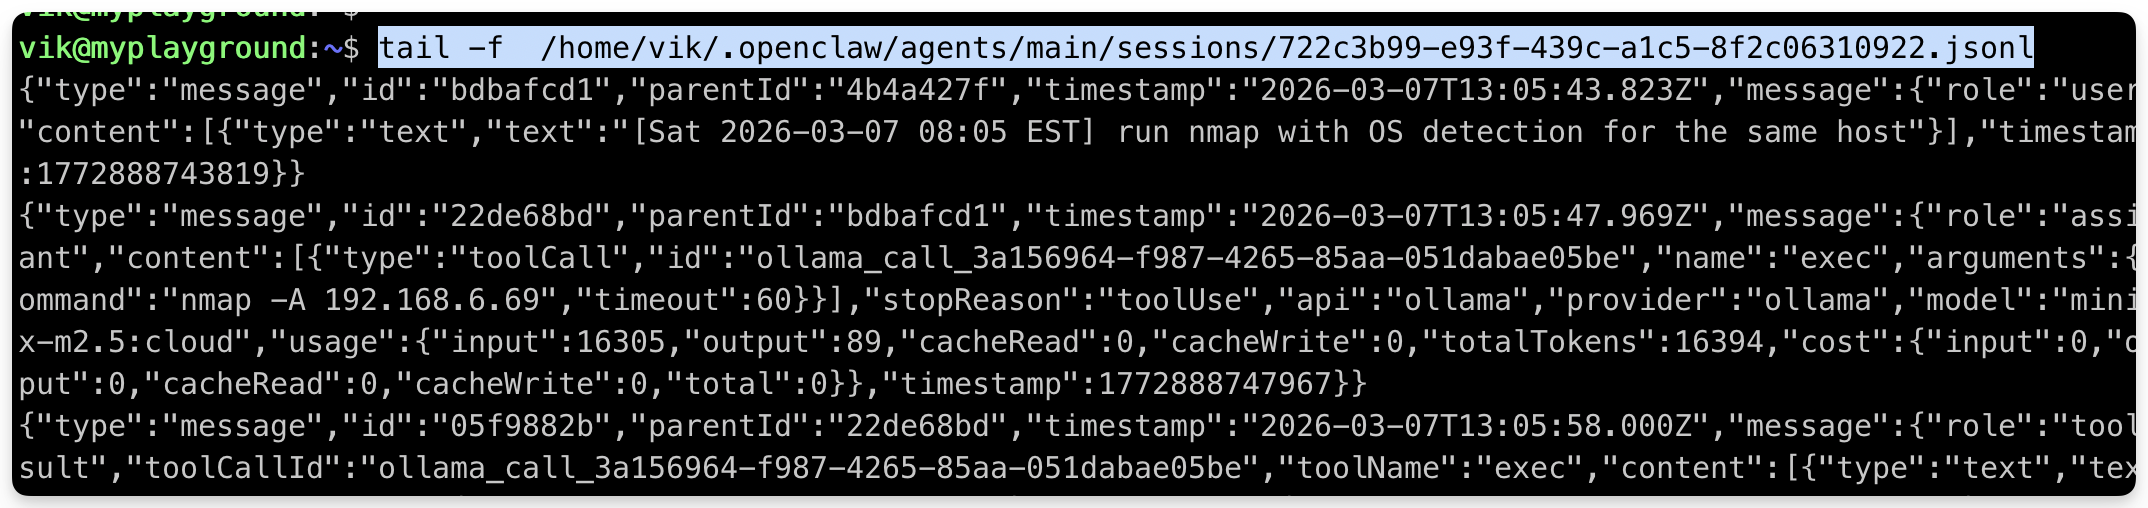
# Per-session agent logs (JSONL format, one event per line)
tail -f ~/.openclaw/agents/main/sessions/<session-id>.jsonl
The session JSONL file is particularly useful — it records every action the agent took, tool calls made, and responses received.
Resetting the installation
If things get into a bad state:
openclaw reset --yes
This clears config and resets to a clean state without uninstalling the binary.
System Permissions
OpenClaw agents run commands on your system. To avoid constant sudo prompts during automated tasks, you can grant specific passwordless sudo permissions:
echo "vik ALL=(ALL) NOPASSWD: /usr/bin/apt" | sudo tee /etc/sudoers.d/apt
echo "vik ALL=(ALL) NOPASSWD: /usr/sbin/ip" | sudo tee /etc/sudoers.d/ip
⚠️ Use scoped permissions like the above rather than blanket sudo access. Only grant what the agent actually needs.
openclaw Command Reference
Quick reference for all commands encountered during setup and experimentation.
Core
openclaw configure
openclaw configure --gateway
openclaw configure --section gateway
openclaw setup
openclaw onboard --install-daemon
openclaw reset --yes
openclaw doctor --generate-gateway-token
Gateway
openclaw gateway install --force
openclaw gateway restart
openclaw gateway stop
openclaw gateway --verbose
openclaw gateway --ws-log full
openclaw --log-level debug gateway
systemctl --user start openclaw-gateway.service
systemctl --user stop openclaw-gateway.service
Browser Extension
openclaw browser extension install
openclaw browser extension path
cp -r ~/.openclaw/browser/chrome-extension .
Sessions, TUI & Skills
openclaw sessions
openclaw sessions logs
openclaw tui
openclaw tui --token <TOKEN>
openclaw skills list --eligible
npx clawhub
Ollama
ollama launch openclaw --model kimi-k2.5:cloud
ollama launch openclaw --model minimax-m2.5:cloud
sudo pkill ollama
sudo service ollama restart
What’s Next
This is very much a first pass — getting things installed, understanding the moving parts, and poking at the TUI and Ollama integration. Next steps I want to explore:
- Building a custom skill and publishing it to ClaWHub
- Running a multi-step agent task end-to-end with browser automation
- Benchmarking local Ollama models vs cloud models for agent task quality
- Integrating OpenClaw with my homelab network monitoring setup
I’ll keep updating this post as I go deeper.